We all want a lovely garden and February is the perfect time to start planning and gathering inspiration for your garden projects. At Oakley Turf Farm, we pride ourselves on being your trusted local family garden supplier, offering premium products and personalised customer service. Whether you’re a seasoned gardener or just starting out, we’re here to help you create a beautiful and thriving outdoor space.
Plan Your Garden with Confidence
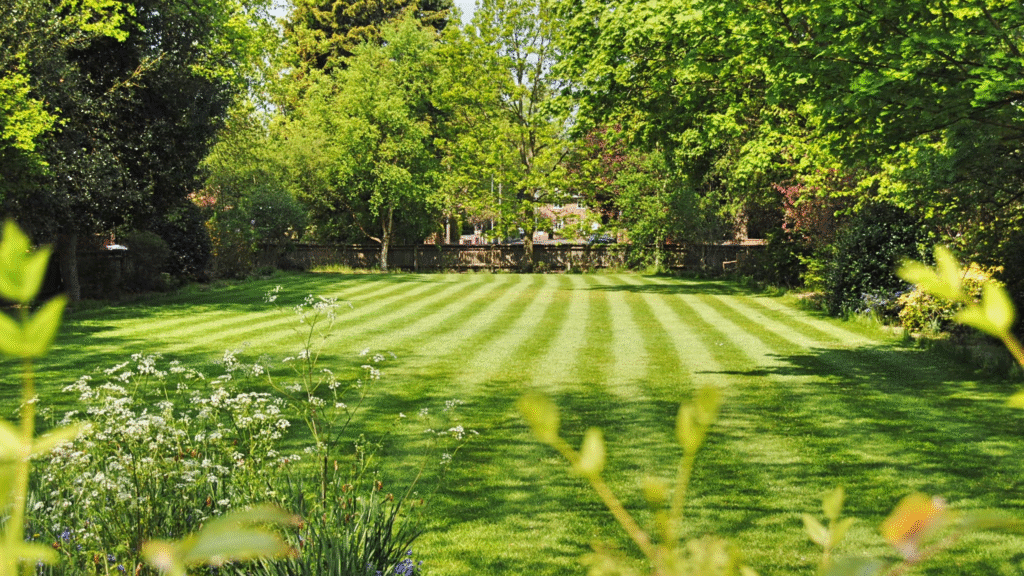
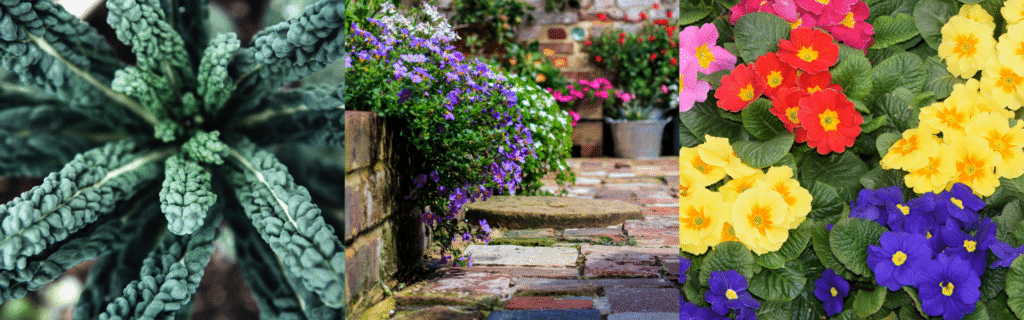
This month, why not take some time to dream and plan your garden’s transformation? Whether you’re envisioning vibrant flower beds, a lush lawn, or a productive vegetable patch, our team is ready to support you every step of the way. With over 38 years of experience supplying gardens in Essex and Suffolk, we have the expertise and products to bring your vision to life.
February Gardening Jobs
To get your garden ready for the upcoming spring season. Begin by clearing away winter debris to make space for new growth. Use a fork to gently loosen compacted soil, which will improve aeration and drainage. Enrich the soil with compost or well-rotted manure to enhance its fertility.
To protect your prepared beds, apply a light layer of mulch this can either be a bark mulch or compost. This will help retain moisture and suppress weed growth.
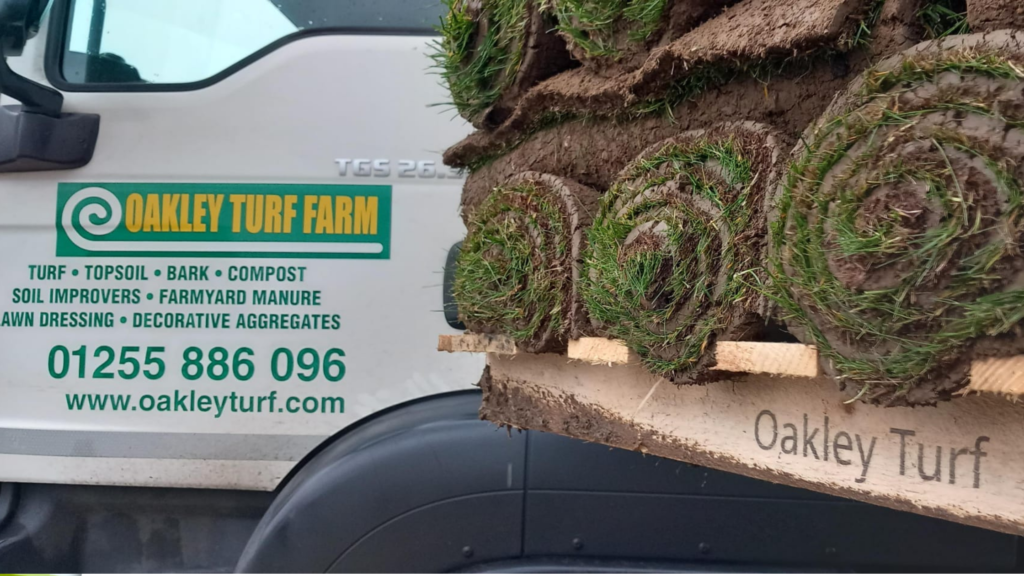
Discover Our Range of Premium Products
We offer a wide range of high-quality gardening supplies to suit every project, some our below:
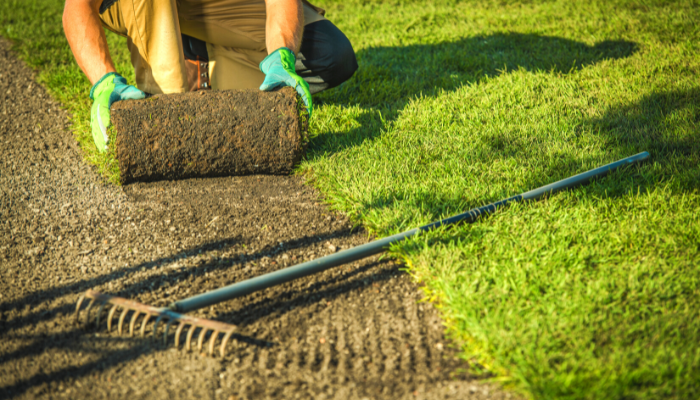
Your Ideal Partner for Laying Turf.
Our topsoil meets the rigorous British Standard BS3882:2015, ensuring the highest quality for your gardening needs. This premium topsoil is the perfect companion when laying Oakley Turf, as it promotes robust root establishment and maintains the turf in excellent condition.
Its easily rakeable texture makes it simple to work with, and, crucially, it is dry-stored before delivery to ensure optimal quality upon arrival at your doorstep.
Ideal for maintaining and levelling existing lawns, ensuring they stay lush and healthy.
Supports recovery and growth of your existing grass
Free Draining, easy to apply and won’t block or cap existing soil.
Blend of 90% medium and coarse sand with 10% premium topsoil.
Dry stored.
Finer bark, is ideal to place in-between smaller plants and shrubs.
Can regulate soil temperature because they act as an insulating layer, helping to moderate soil temperatures, keeping it cooler in the summer and warmer in the winter
Great for weed suppression, ground cover and water retention.